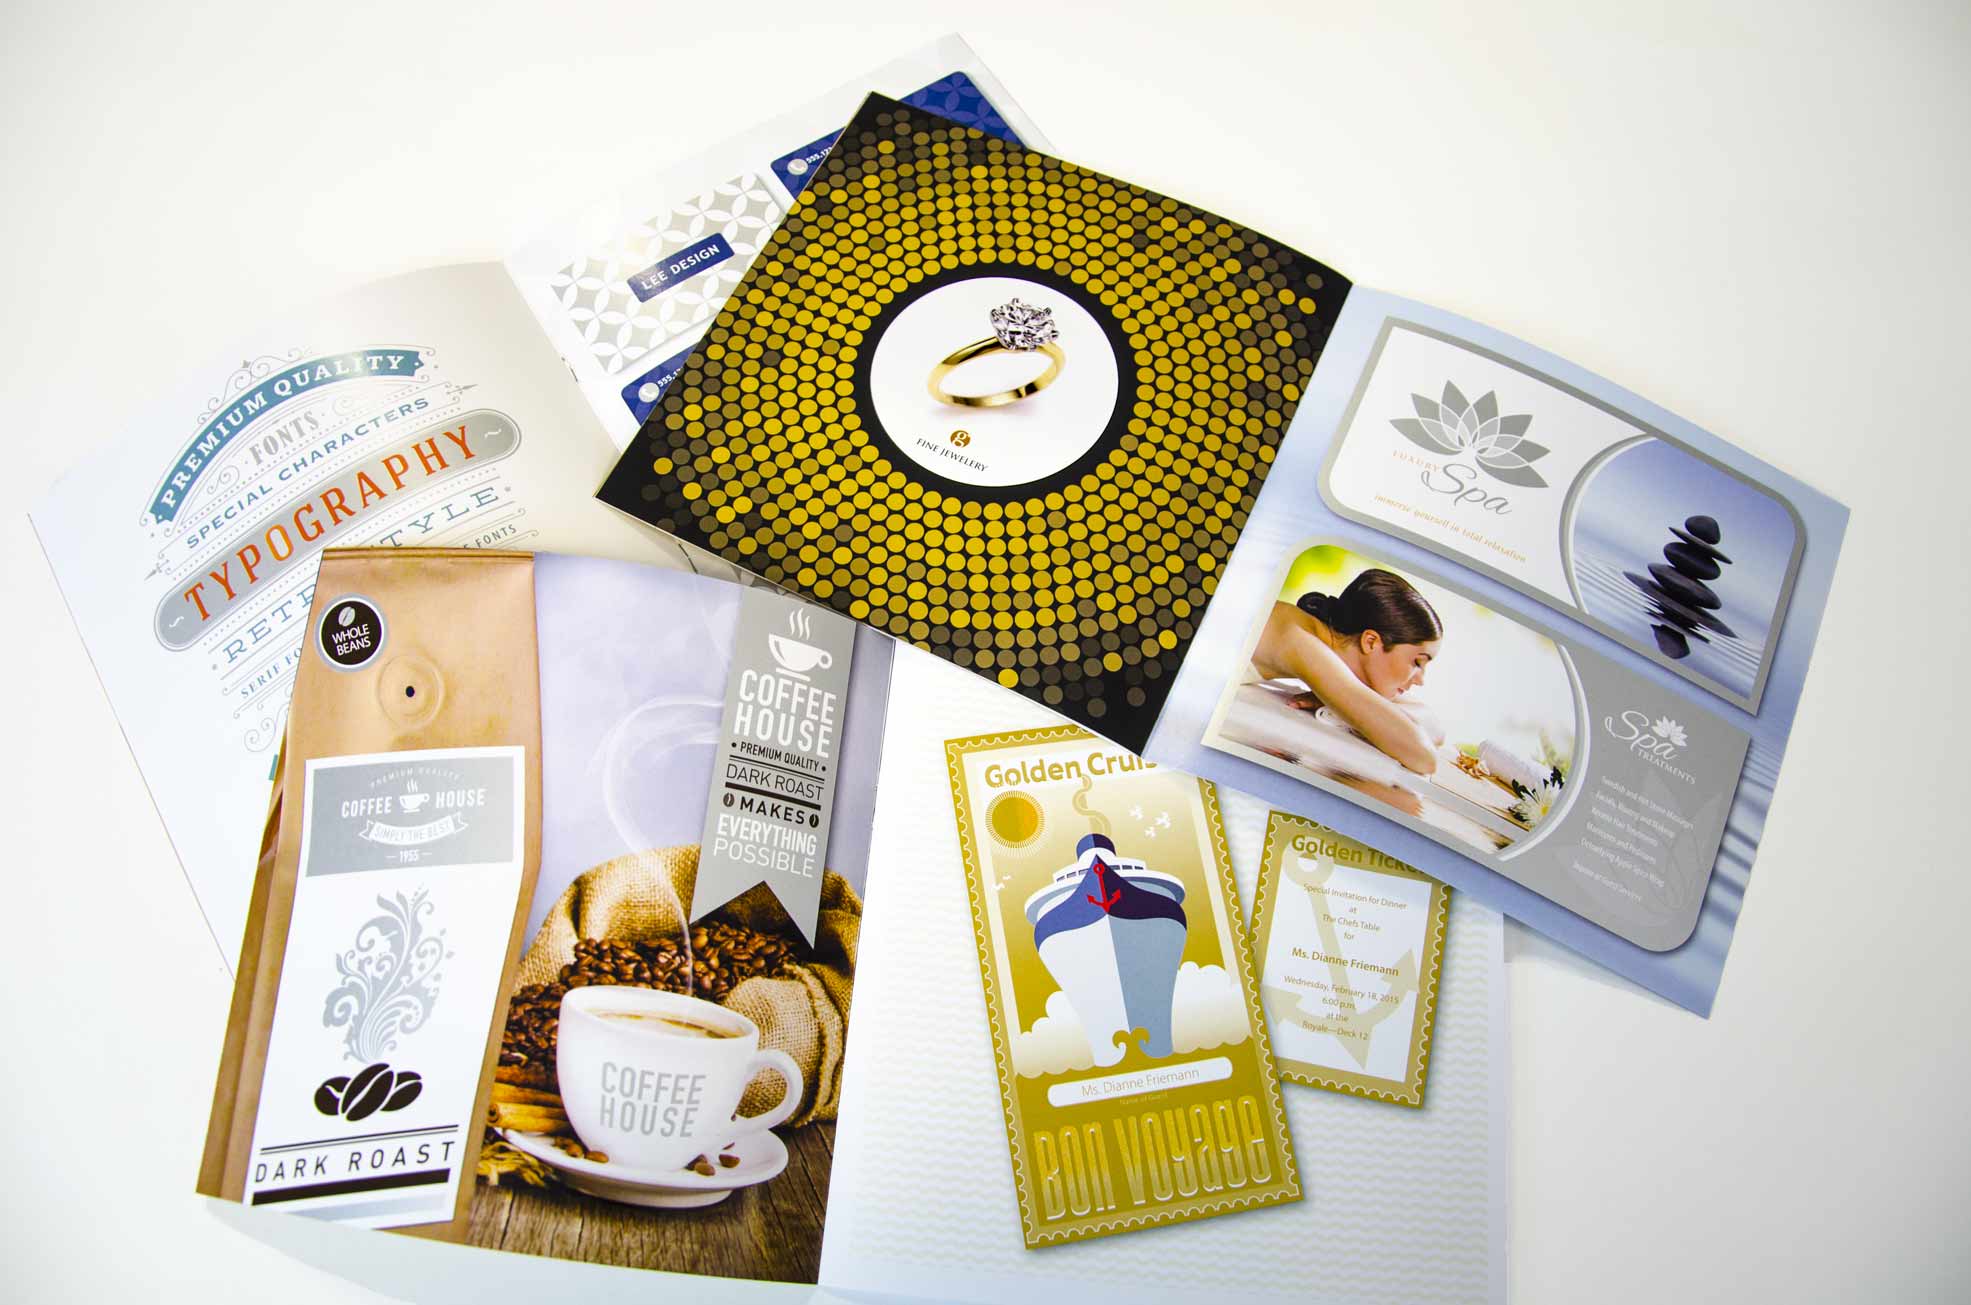
Add some BLING To Your Brand With Metallic Dry Inks!
In this third installment of our series, using silver & gold metallic dry inks, we’ll walk you through step-by-step on how to use metallic dry ink overlays in Adobe Photoshop®.
An opacity layer of silver or gold can make a dramatic impact to your digitally printed marketing pieces. Just like in Illustrator or InDesign, you can play with different opacity percentages to see different results. Although it’s sometimes difficult to visualize the final product on a computer screen, printing samples based on a variation of transparency will help you choose.
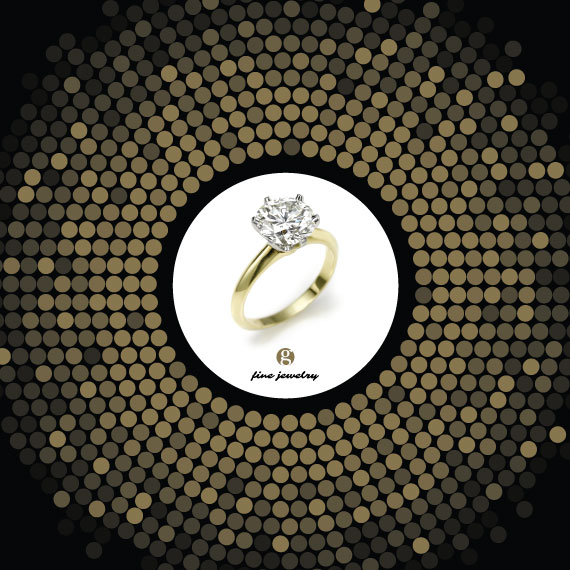
Think about your next print project and how you can add some BLING to your brand! When using images that depict something already metallic like coins, jewelry, cars, bikes, appliances, or home decor, an overlay of silver or gold can make a BIG impact to your digitally printed piece.
Step 1:
- Open your Photoshop file.
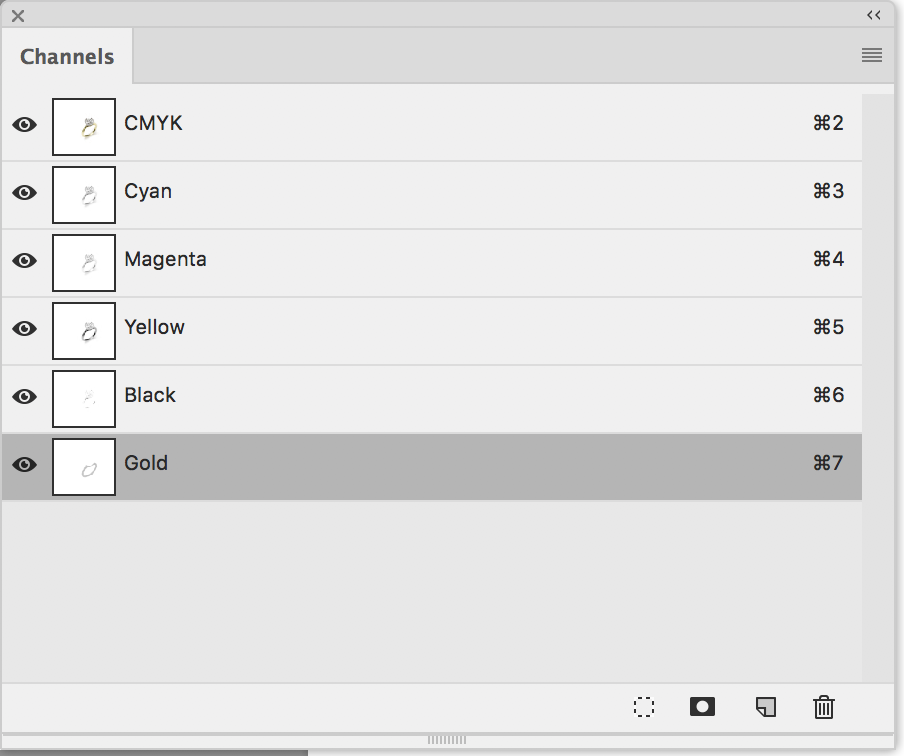
- Go To Window > Channels.
- From the panel fly-out menu select a New Spot Channel.
- Name the channel Gold (or Silver), remember to always name your colors specifically as Gold or Silver with a capital G or S.
- Click on a color and select the Picker. Enter the CMYK value for Gold as 0, 17, 55, 50. If you’re designing with Silver, the values would be: 45, 34, 34, 0.
Step 2:
-
Use the selection tool of your choice to select the band of the ring, then feather the selection.
-
Select > Modify > Feather, set the tolerance to 2. Now fill the selection with the Gold overlay color.
-
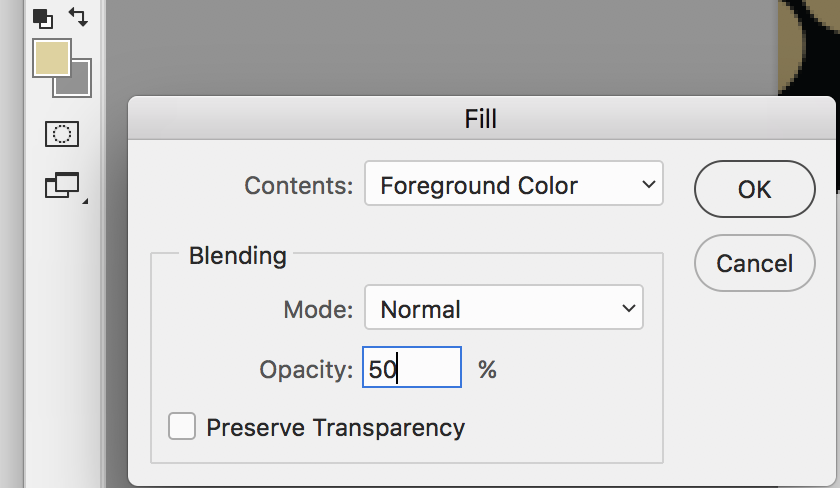
Go to Edit > Fill, select the foreground color from the dropdown (make sure your Gold color is set). The Blending mode is normal, Opacity is set to 50% (play with the opacity level to what looks the best).
-
You should see a transparent color of Gold or Silver over your image.
-
To bring back some of the highlights from the original photo, select the Eraser Tool (make sure the Gold Spot Channel is still selected). Set the eraser opacity to 10%.
-
Go over the highlights several times until you like the look. You can see the impact of your work by turning the eye ball off and on from your Gold Spot Color Channel.
-
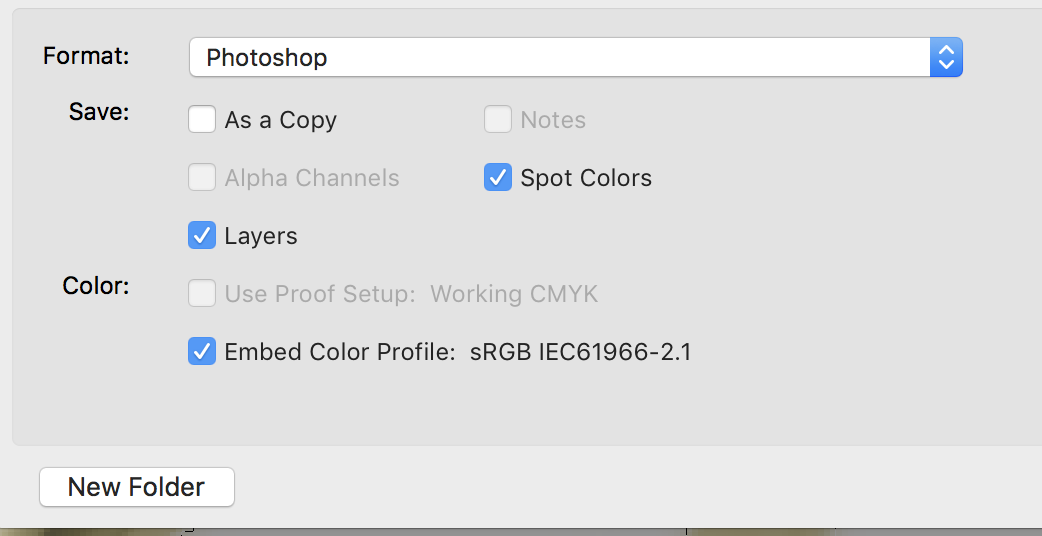
Save the file as a .psd with the Spot Colors checked.
Using Metallic Dry Inks In Adobe Illustrator®
Following the steps in the video, we’ll walk you though how to import the file into Illustrator, change all the colors to Gold, and make a clipping mask.
- Open your Illustrator design file.
- If you haven’t already, set-up a new layer and name it Silver or Gold. This will be your metallic layer.
- Set-up your metallic dry ink color, select Window > Swatches > Color Libraries > Color Books > Pantone Metallic Coated.
- When the window comes up, search on 871 (for Gold) or 877 (for Silver). Add either color to your Swatches Panel. Once added, double click on the color and change the mode from Book Color to CMYK, change the name from the Pantone Color Name to either Silver or Gold. Make sure the Color Type Spot Color is selected.
- When renaming your colors, it’s extremely important that you use capital letters for S & G. The name should either be Silver or Gold…no other letters or words. Also, use either silver or gold in your design.
- In the video example, since the dots have the same color variation, you can select one dot and apply color to them all.
- Select one of the dots in the file. Go to Select > Same > Fill Color. You’ll notice that all the dots with the same color variations are now changed to the Gold variations.
- Now place the .psd file of the ring in Illustrator, go to File > Place.
- Position the selected file in the right spot, select the path of the circle and the ring image.
- Go to Object > Clipping Mask > Make.
Now you know how easy it is to incorporate metallic dry inks into your design. We’re always here to help and collaborate with you on your print project. Our #1 job is to make your job easier. RELAX…we got this.
Visit our DIGITAL & OFFSET Services page to learn more about what we produce and what our clients say about us!
Want to see what silver or gold metallic dry ink looks like on paper? Get your FREE Print To Impress Sample Collection here.
